


TABLE OF CONTENTS
How to Make an Envelope: 4 Easy Ways
Get blank envelopes NowNov 6, 202015956 views
Nov 6, 202015956 views

The practice of hand-making envelopes may be a dying art form, but you’d be hard-pressed to find a more endearing medium for a letter. Neatly done, handmade envelopes convey well-wishes and positive sentiments to their receiver. You only need glue and paper to make your first envelope. This handmade craft can do away with your need for money to buy envelopes, but they are most valued.
Moreover, because handmade envelopes are fully customizable, they are a contrast to the often dull conventional envelopes. So the rest of the article will show you how to make an envelope the traditional way, even if you are a novice in this craft.
Required Materials
Making a handmade envelope out of printer paper is super simple and enjoyable! You don’t need anything fancy—just some simple materials to get you started. By collecting these things in advance, you can make sure that the whole process is simple and easy. Let’s run through all of what you’ll need and the reasons that each is essential.
For starters, the only thing you really need is a regular sheet of printer paper. A standard letter size 8.5” x 11” paper is ideal for this project. Use plain white paper for your envelope, or select colored or patterned printer paper to make your project more colorful and exciting. A little more personal touches go a long way. The use of pastel shades gives a gentle and very pretty effect. Rich patterns work wonders for more fun or relaxed events. If you would like a more durable envelope, use a thicker paper such as cardstock. Regular printer paper is often more accessible to fold and work with.

Next, you’ll want a pair of scissors for trimming the envelope paper. An average pair of scissors goes a long way for everyday cutting needs. If you need clean, sharp edges, a precision scissor can make all the difference. Or, if you’d rather go the other route, you can use a paper trimmer or craft knife, too, particularly for straight cuts. Whatever tool you use, make sure it’s sharp. A dull blade can leave jagged edges that will destroy the elegance of your envelope.
Adhesive is the other essential item to good art making. A glue stick is a great option because it’s easy to apply and dries clear! Double-sided tape works just as well and gives a much cleaner appearance by removing any possibility of glue overage streaking. In a pinch, regular clear tape will work to seal your envelope. It can be more visible than some of the other options. If you’re crafty, colorful decorative washi tape can work as an adhesive and an embellishment.
Finally, a ruler is not a necessity, but it is a great tool to use to help you with straight lines and folds. Sure, eyeballing your measurements works in a pinch. A ruler goes a long way in increasing accuracy and making your final product appear polished. For example, scoring the precise locations where folds need to be placed will save you from crooked edges or misaligned envelope flaps. A pencil will be useful as well for creating these faint guidelines, which you can erase once you’re done.
What Kind of Paper Is Right?
Any paper can make envelopes. However, a sturdy and large piece of paper is best for envelope making. You can choose from magazine pages, scrapbook paper, catalogs, or large-print photographs. You can use office printer paper for this process, even though that may not be ideal.
The shape of your paper will impact your method and result. The most popular paper shapes for making envelopes are:
Rectangular Paper
These simple steps show how to make an envelope with rectangular paper. We will also show you how to fold an envelope with rectangle paper.
Lay the rectangular paper down. You can use an A4-sized paper.
Rectangular envelopes are best for letters and similar-shaped content. Hence, the above steps reveal how to make an envelope out of rectangular paper. We’d now see how to use square paper instead
Square Paper
Making an envelope out of printer paper is easy and a fun project to do. A square sheet makes the folding process easier and helps to create symmetry, which is key to getting an elegant, polished result. Since printer paper isn’t paper sized for origami, which is usually square, you’ll need to cut it into a square first.
First, consider a standard letter-sized sheet of paper—say, 8½ x 11 inches. It’s super easy to trim it down to make a perfect 8½ x 8½-inch square. Your square will be a different size depending on the card or note you want the envelope to fit. Pick your envelope size based on that!
If you’re using a standard-sized card, a 10 x 10-inch square is a convenient option. This size is perfect for making a pink gingham envelope to fit a 4½ x 4½-inch card. This one truly comes in handy around the holidays! It’s just right for mailing your Christmas cards to all your friends and family.
Alternatively, when making a larger envelope, a 12 x 12-inch is perfect. This size will fit a 5½ x 5½-inch card easily, providing a little extra room for larger greetings or pretty inserts. Scrapbook paper is an awesome option for this envelope. It usually is available in a 12 x 12-inch format, and you can find it in virtually any color or pattern to suit any theme.
For smaller notes or gift tags, a 7 x 7 inch square is ideal. It provides exactly the size you are looking for! This small-parts-friendly option is perfect for mini projects, such as tiny thank you cards or little gifts for special occasions. The smaller square format prevents the envelope from overpowering the contents.
Plus, it’s more efficient for creating several envelopes from one sheet of paper. The design of the paper, as well as the texture, can add something special to the envelope you create. Scrapbook paper has the added benefit of being decorative on one side and strong on the other.
It’s the perfect two-in-one solution to meet your practical needs and stylish design. Plain white or natural printer paper envelopes can be pretty much any color when decorated with stamps, doodles, or a little love note. Go with a bright palette for a fun, youthful aesthetic with pink gingham, or stick with a classic solid for a more traditional, formal look.
The options are unlimited once you begin with a square piece!
How to Make an Envelope Without Glue
If you decide not to use glue, you will remove the need to separate your note and blank envelope. Your envelope can hold the note; your recipient simply has to untuck your message. Here’s how to make an envelope without glue:
-
Use a square sheet of large enough paper to fit your content. Use 12" x 12" paper if you want a sizeable envelope.
-
Fold the paper corner to corner. This way, you'd have a line that runs from the bottom right corner to the top left corner and from bottom left to top right.
And that’s how to make an origami envelope without using glue.
How to Make an Origami Envelope?
Use this simple guide on how to make paper envelopes step by step:
Good job. You now know how to fold paper to make an envelope.

Fold-and-Tape Envelope Using Printer Paper
Making an envelope out of printer paper is super easy. It’s a useful and whimsical way to personalize any card or letter. In less than a minute, you can create a sturdy envelope with a few creases, scores and a piece of tape. Best of all, no scissors are required!
This technique is so simple, I would even trust my four-year-old son to do it without my help. You can use regular old printer paper in the envelope maker for any of your projects. You can try colored scrapbooking paper, brown paper bags, or wrapping paper. This method is good for just about any event!
Making your own envelope is a fun, creative project! With some regular 8.5 x 11-inch printer paper, you can whip up some cute envelopes for little love notes or greeting cards. This size is perfect for accommodating a gift card too!
Fold the paper in half hotdog style so the two smaller ends touch. The trick here is to really make a good crease along the fold to give the whole structure some strength. To make your envelope, start by unfolding your paper.
Next, fold each of the long sides in about an inch or so, being sure to allow for enough room in the middle to accommodate your card or letter. Then, fold the bottom edge of the paper up. This fold will be the bottom of your envelope.
Just be sure to size it big enough that everything fits snugly inside! So if you’re creating an envelope for a birthday card, fold up 3 inches from the bottom. Use tape or a glue stick to seal the sides of this flap, making sure to get a good seal.
The top edge of the paper will be the closing flap. Just fold it down, with a slight overlap so that the envelope can be sealed up nicely. What sets this technique apart is the range of applications.
You will need to select what type of paper you want to use, such as A4 cardstock or origami paper. You can personalize your envelope for any event! Use wrapping paper for Christmas card envelopes or pastel origami paper for Easter letters for a fun and colorful touch.
If you’re giving a Valentine, using a pink or red envelope makes it extra adorable. You can even create larger envelopes if you begin with larger sheets, or smaller envelopes to fit gift cards.
The beauty of this method is in its simplicity and accessibility. You won’t have to trim anything. Using 90% of the work on just basic folds and scotch tape, this technique is a quick way to bring a crafty, homemade feeling to all your mail!
Step-by-Step Folding Instructions
Making a DIY envelope out of printer paper is an easy project that’s useful and a little bit artistic. Whether you're looking to personalize a note or simply need an envelope in a pinch, this guide walks you through the steps. You only need a standard 8.5 x 11-inch sheet of paper and a clean, flat surface to fold on! Keep reading to make your own tidy and practical envelope.
To start, place the paper horizontally on your table with the long side facing you. This orientation is very important, as it dictates the orientation of your envelope shape and size. Fold the bottom edge of the paper up, leaving about 2.5 inches from the top edge. This forms the back pocket of the envelope in which you’ll later put your goodies. To ensure that the fold is sharp and even, press down hard along the crease. You can run your fingernail or the edge of a ruler along it to really crease it.
Then, fold each of the two short sides in towards the middle to complete the envelope’s sides. Take the left side and fold it toward the middle, folding in approximately 0.5 inches. Then do the same on the right side. The intent here is just to line up the edges evenly so the envelope still looks crisp and polished. If you’re not sure how much to fold, picture these flaps as glue areas on a commercial envelope. Make slot openings wide enough to guarantee a tight fit when folded.
Once you fold in the sides, direct your attention to the top flap. Fold down the remaining top portion to cover the bottom part of the envelope. This flap will be your closure, so take care to fold it perfectly for a clean, professional look. First, do a test to see how the bottom flap will lay over the pocket. Check for proper coverage with no gaps before sealing the envelope with tape or glue.
Last, seal the envelope closed. Use tape when you’re short on time, but glue sticks or double-sided tape will give you a neater finished product. For a special finish, you can use decorative stickers or colored washi tape to seal the envelope flap. This gives it a unique and charming feel, perfect for special occasions such as hand-written invitations or thank you cards.
A Few Finishing Touches
Your envelope’s general shape is now set. Now we’re going to add some pretty details to make it look professional yet special! Those little touches are what can make an ordinary envelope crafted from printer paper feel special and one-of-a-kind.
Making something for a special occasion? Or maybe you’re just cleaning off your desk? In either case, these tips will get you closer to a polished, professional—and truly authentic—look and feel.
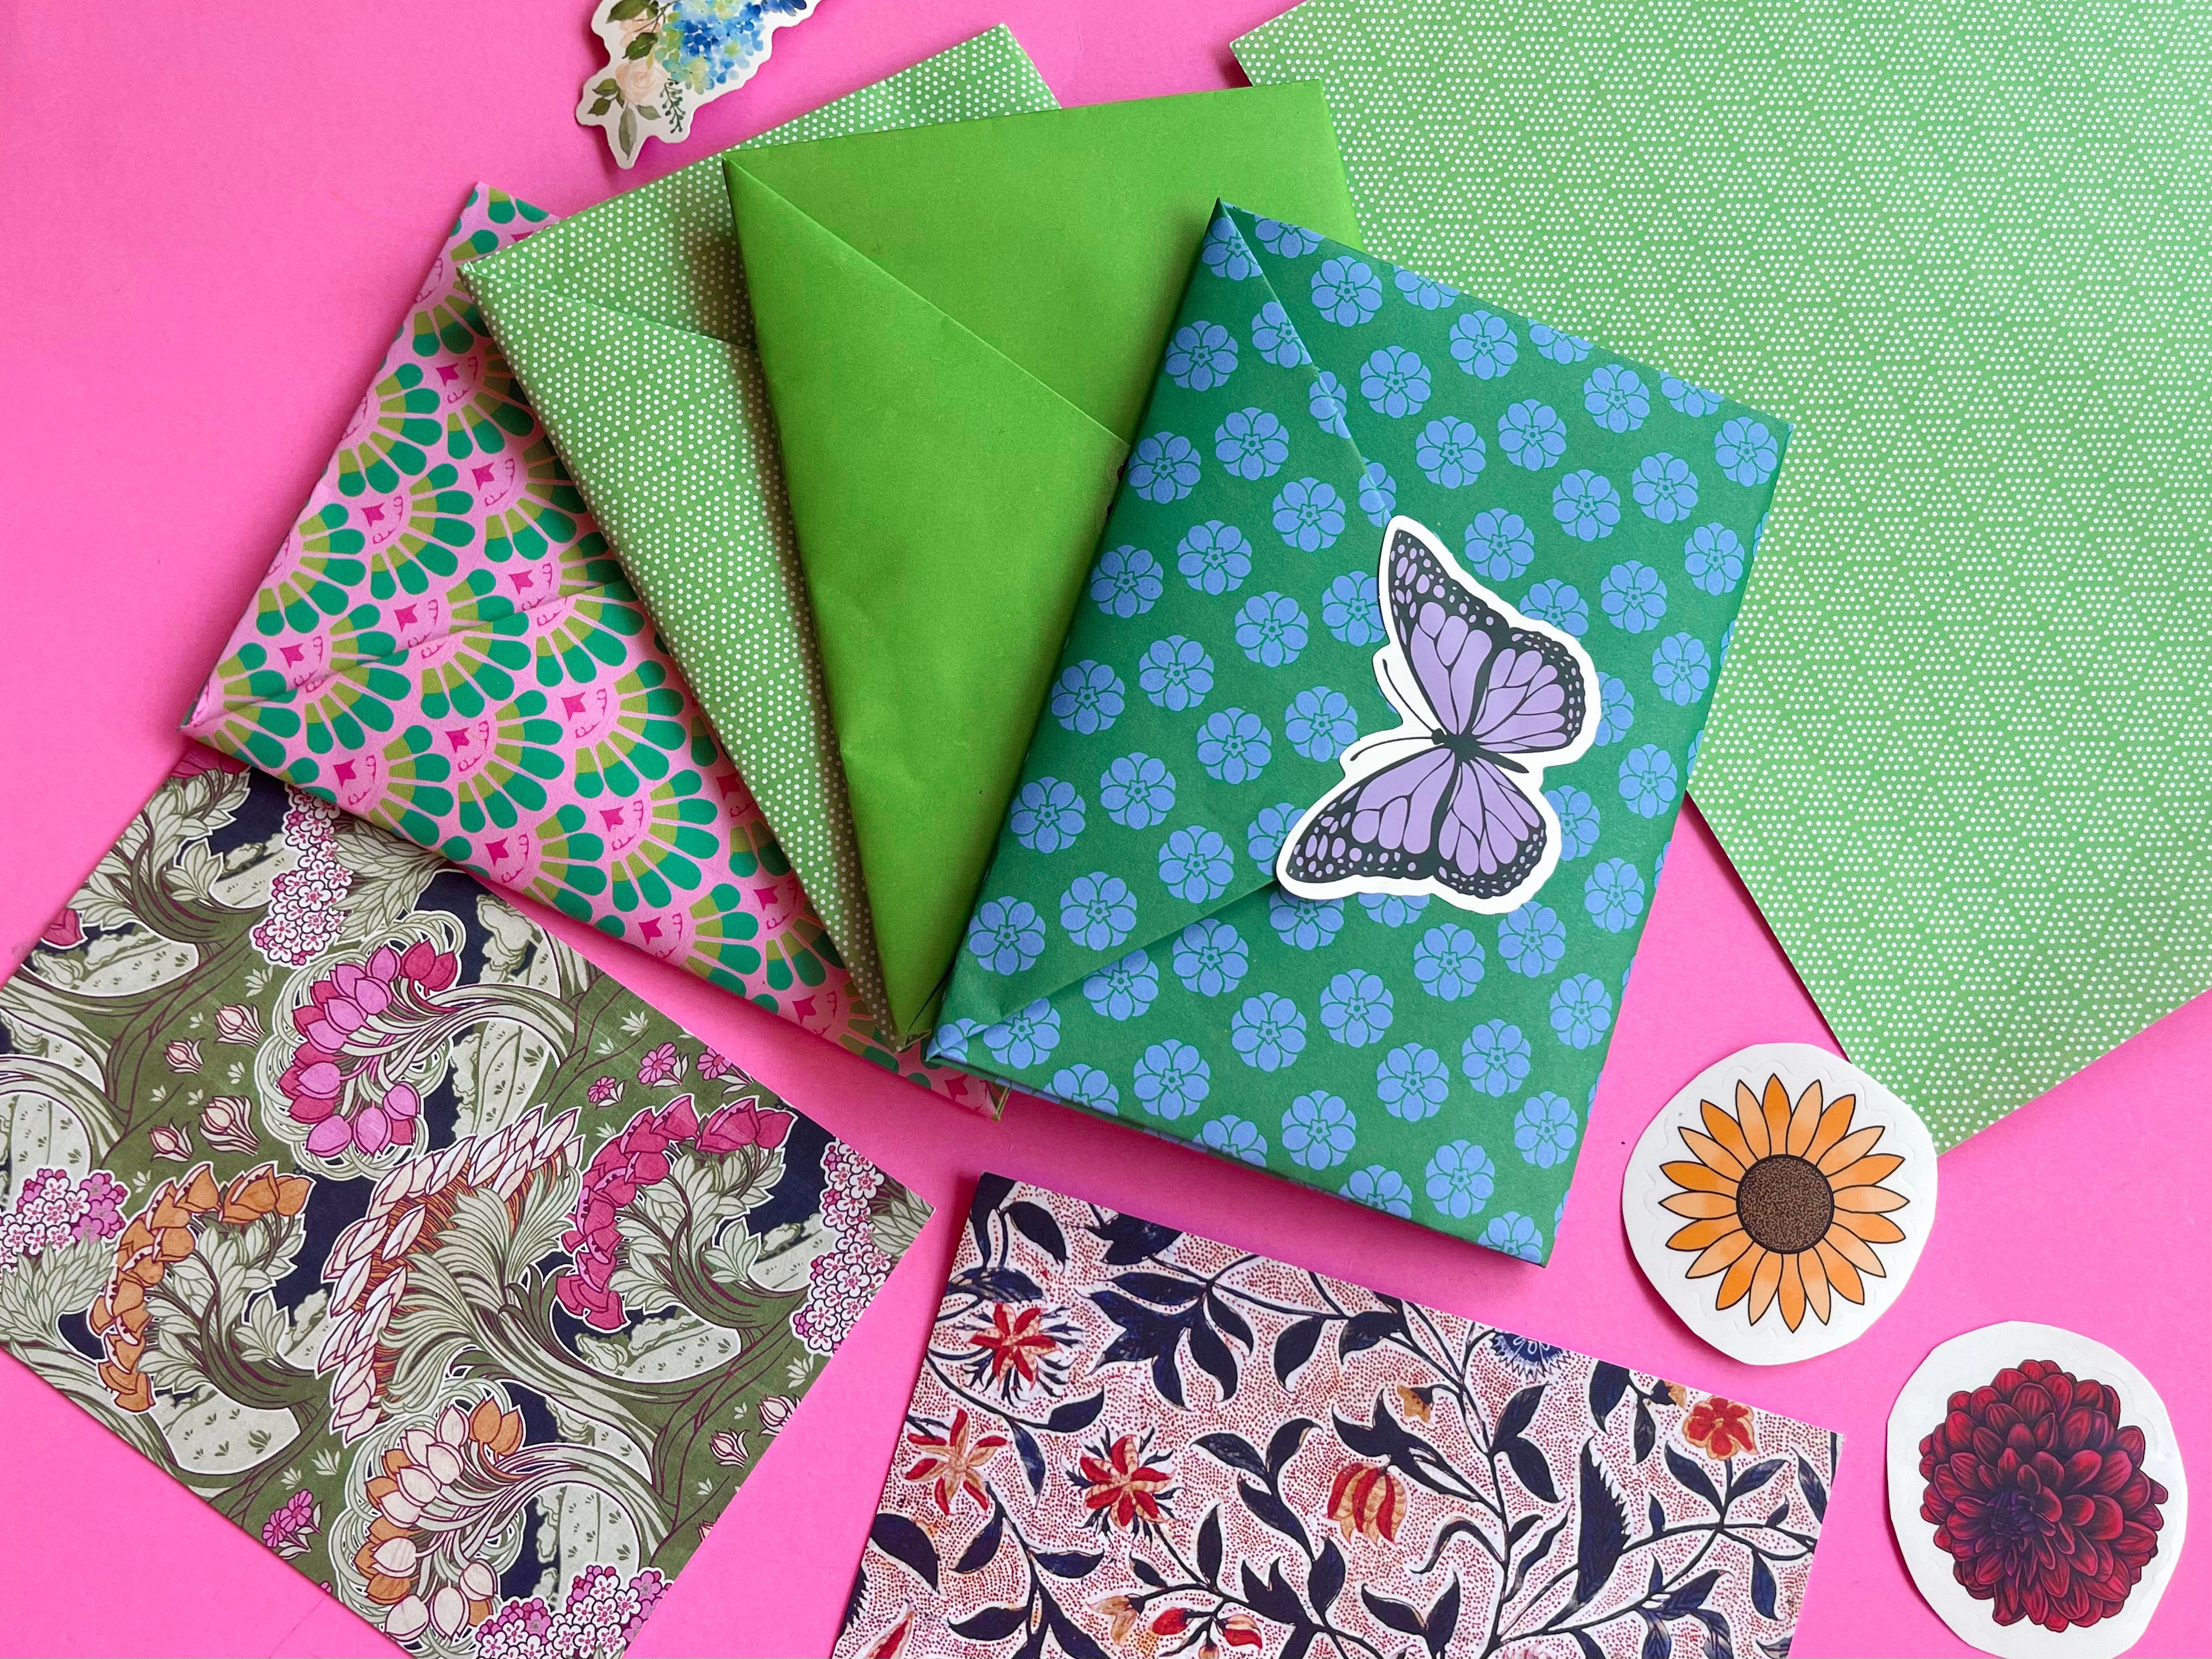
If you want a fancier envelope, try using fancy papers to create your envelope. Wrapping paper can be a great option too, particularly for seasonal cards. So something like a Christmas card snuggled inside an envelope fashioned from holiday-themed wrapping paper just seems that much more special and personal.
Likewise, pastel origami paper is perfect for letters around Easter or during springtime, bringing in those colors that complement the season perfectly. Or use bigger sheets, like 12” x 12” craft paper, to create envelopes for larger cards or objects. So get creative with your envelopes and just have fun!
The size provides you with plenty of flexibility when you need extra room to write, but still have a nice solid feel.
Washi tape is a pretty and easy solution for closing up the edges of the envelope! Plus, it gives your letter that creative touch! Place your washi strip so that one side goes over the edge of the envelope.
Next, fold that other half over the other side. This gives the envelope a super cute decorative touch while simultaneously reinforcing the envelope, making it more durable. There are thousands of different washi tape designs.
That way, it’s super simple to coordinate the tape with the theme of your envelope! For example, classic floral prints lend sophistication, while graphic, multicolor prints introduce a fun, energetic element.
What makes this process so accessible is exactly that — how simple it is. It’s so easy that even little children can participate. The first time I made an envelope I literally just gave my four year old a blank piece of paper and walked him through it.
To my surprise, and after just a few minutes, he was able to figure out how to make an envelope on his own. It wasn’t all that great, but it was an imperfect delightful one-of-a-kind keepsake that I’ll always treasure.
If my son can do it, you can do it. To be frank, you don’t want your four-year-old beating you in a make-an-envelope competition either.
Making a simple envelope out of printer paper can be quite quick and easy. One day, I figured I would take the plunge. I just picked up a printer paper and had an envelope made in about 5 minutes!
This post has received more than five million views! Logically enough, mastery of this skill has proved valuable to millions of people.
What Are Homemade Envelopes Suitable For?
True, these cool handmade envelopes will complement your greeting cards and letters, but you can use them for much more. For example, are you planning to send out invites for your baby shower, bridal shower, or wedding? Or do you want your friends over for a holiday? Of course, your family and friends will be thrilled to receive this kind of invitation. Handmade envelopes are also great if you plan a kid's birthday party.
Envelopes are a necessary part of our lives. They help us send important messages to our loved ones. You can make envelopes with different shapes, sizes, and colors. With the steps above, you now know how to make envelope without spending too much money. So go ahead and make one today!
4OVER4 can help with your printing. You can get blank or printed envelopes. We know you want to personalize your prints so they convey the right message. Our prints are inexpensive, and we have the customizations you'd like. For example, we print in all the colors and let you use variable data such as name and personalized information. Make your order today.
FAQs
Q: What materials do I need for DIY paper envelope making without glue or tape?
A: You will need a piece of paper, preferably construction paper or patterned paper, and a pair of scissors.
Q: How can I make a paper envelope without using glue or tape?
A: You can follow an easy origami tutorial that involves folding the paper in a specific way to create the envelope without the need for glue or tape.
Q: What type of paper is best for making envelopes?
A: Construction paper or patterned paper works well for making DIY paper envelopes as they are sturdy and add a decorative touch to the final product.
Q: Can you provide a step-by-step transcript for creating a paper envelope?
A: Sure, you can find a detailed transcript of the DIY paper envelope making process in the tutorial provided.
Q: Is it easy to make an envelope using origami techniques?
A: Yes, making a paper envelope using origami techniques is super easy and requires only basic folding and creasing.
Q: What paper size should I use to make a small paper envelope?
A: You can use an A4-sized paper and trim it down to the right size to make a small paper envelope.
Q: How can I make a decorative paper envelope to match a card or letter?
A: You can choose patterned or decorative paper to make an envelope that complements the card or letter you plan to pair it with.
More from DIY

4644285
Postcard marketing is one of the best ways to build a successful business for lifetime productivity. The custom postcards are most significant
![]() Emma Davis
Emma Davis
May 12, 2020

4534373
If you want to win and close more deals in business, you need to be unique in the entire industry. Just stand out in whatever you do and get y
![]() Emma Davis
Emma Davis
Mar 25, 2020

6195870
We've all felt the thrill of scratching off a card, revealing a hidden surprise beneath the shimmery surface. But what if we told you that
![]() Emma Davis
Emma Davis
May 4, 2021

1634948
Who doesn’t love a personal touch? DIY stickers are a fun and creative way to add personality to everything from notebooks to gift wrap.
![]() Emma Davis
Emma Davis
Apr 13, 2021

1694111
We all know the joy of getting lost in a good book, but keeping track of where we left off can sometimes feel like a chore. That’s where
![]() Emma Davis
Emma Davis
Apr 9, 2021

2212857
We've all experienced the thrill of scratching off a card to reveal a hidden surprise, whether it's a prize, a discount, or just a fun
![]() Emma Davis
Emma Davis
Feb 2, 2021

2283083
Scratch-off lottery tickets have become a popular pastime for many of us, offering a quick thrill and the tantalizing promise of instant riche
![]() Emma Davis
Emma Davis
Jan 25, 2021

2723566
Valentine's Day is a time for love, creativity, and a touch of mystery. What better way to express affection than with Valentine scratch-o
![]() Emma Davis
Emma Davis
Jan 25, 2021