

TABLE OF CONTENTS
How to Make Amazing Custom Envelope with A4 Size Paper
Jan 13, 20216768 views
Jan 13, 20216768 views

In a world where digital communication reigns supreme, there's something undeniably charming about a handmade envelope. Crafting your own custom envelopes ![]() not only adds a personal touch to your correspondence but also offers a creative way to repurpose materials like packaging, book pages, and scrapbooking paper that might otherwise go to waste.
not only adds a personal touch to your correspondence but also offers a creative way to repurpose materials like packaging, book pages, and scrapbooking paper that might otherwise go to waste.
Have you ever found yourself without an envelope when you need to send a heartfelt note or card? We've all been there, and that's where a bit of creativity can save the day. By making our own envelopes, we not only solve this common problem but also embrace a sustainable approach that benefits both us and the environment.
In this article, we'll guide you through the simple yet rewarding process of making envelopes. Whether you're a crafting novice or a seasoned DIY enthusiast, you'll discover how easy it is to create envelopes that are as unique as the messages they carry.
How to Make an Envelope Easily
Creating an envelope from scratch is a straightforward process, and with a few methods, anyone can do it. We'll explore several approaches using readily available materials.

Method 1: Origami Envelope Without Glue, Tape, or Scissors
An origami envelope is elegant and requires just a square piece of paper. Here's how to make one:
- Materials: Obtain a square paper, such as 20 cm x 20 cm.
- First fold: Diagonally fold the paper to form a crease.
- Corner folds: Bring the top right and left corners to the center crease.
- Bottom fold: Fold the paper's bottom half up to meet the center crease.
- Top fold: Bring the top half downward to create a flap.
- Final adjustments: Tuck the sides, then fold the bottom up to finish.
This technique requires precision, ensuring all folds are crisp for a professional look. See our resource for more inspiration.
Method 2: Simple Origami Envelope with Basic Folds
For a simpler approach, use a rectangular piece of paper like A4 size.
- Materials: Start with a rectangular paper, A4 or letter size works well.
- Center folds: Fold it in half both ways to identify the center.
- Long-side folds: Fold the long sides towards the center, then unfold.
- Short-side folds: Fold the short sides inward towards the center crease.
These basic folds create an efficient envelope perfect for everyday uses. Discover more in our design templates![]() .
.
Method 3: Gift Wrapping Technique
This technique is similar to gift wrapping and uses any paper at hand.
- Materials: Choose any paper like reused packaging or magazine pages.
- Position card: Lay your card on the paper.
- Wrap like a gift: Wrap the paper around the card as you would a present.
This approach is simple and sustainable, ideal for repurposing materials. Visit our tool for ideas on creative designs.
Method 4: Using an Envelope Template
For a precise envelope shape, use an existing envelope as a template.
- Materials: Find an old envelope and take it apart.
- Trace shape: Lay it flat on sturdy material and trace around it.
- Cut and fold: Cut out the shape and fold along the lines.
Using a template ensures reliable results. Learn more about customized templates in our printing guide.
Where DIY meets practicality, making envelopes at home stands out as a useful skill for any occasion. Images of completed projects can further illustrate these methods and provide clarity for each step.
Materials Needed to Create Custom Envelopes
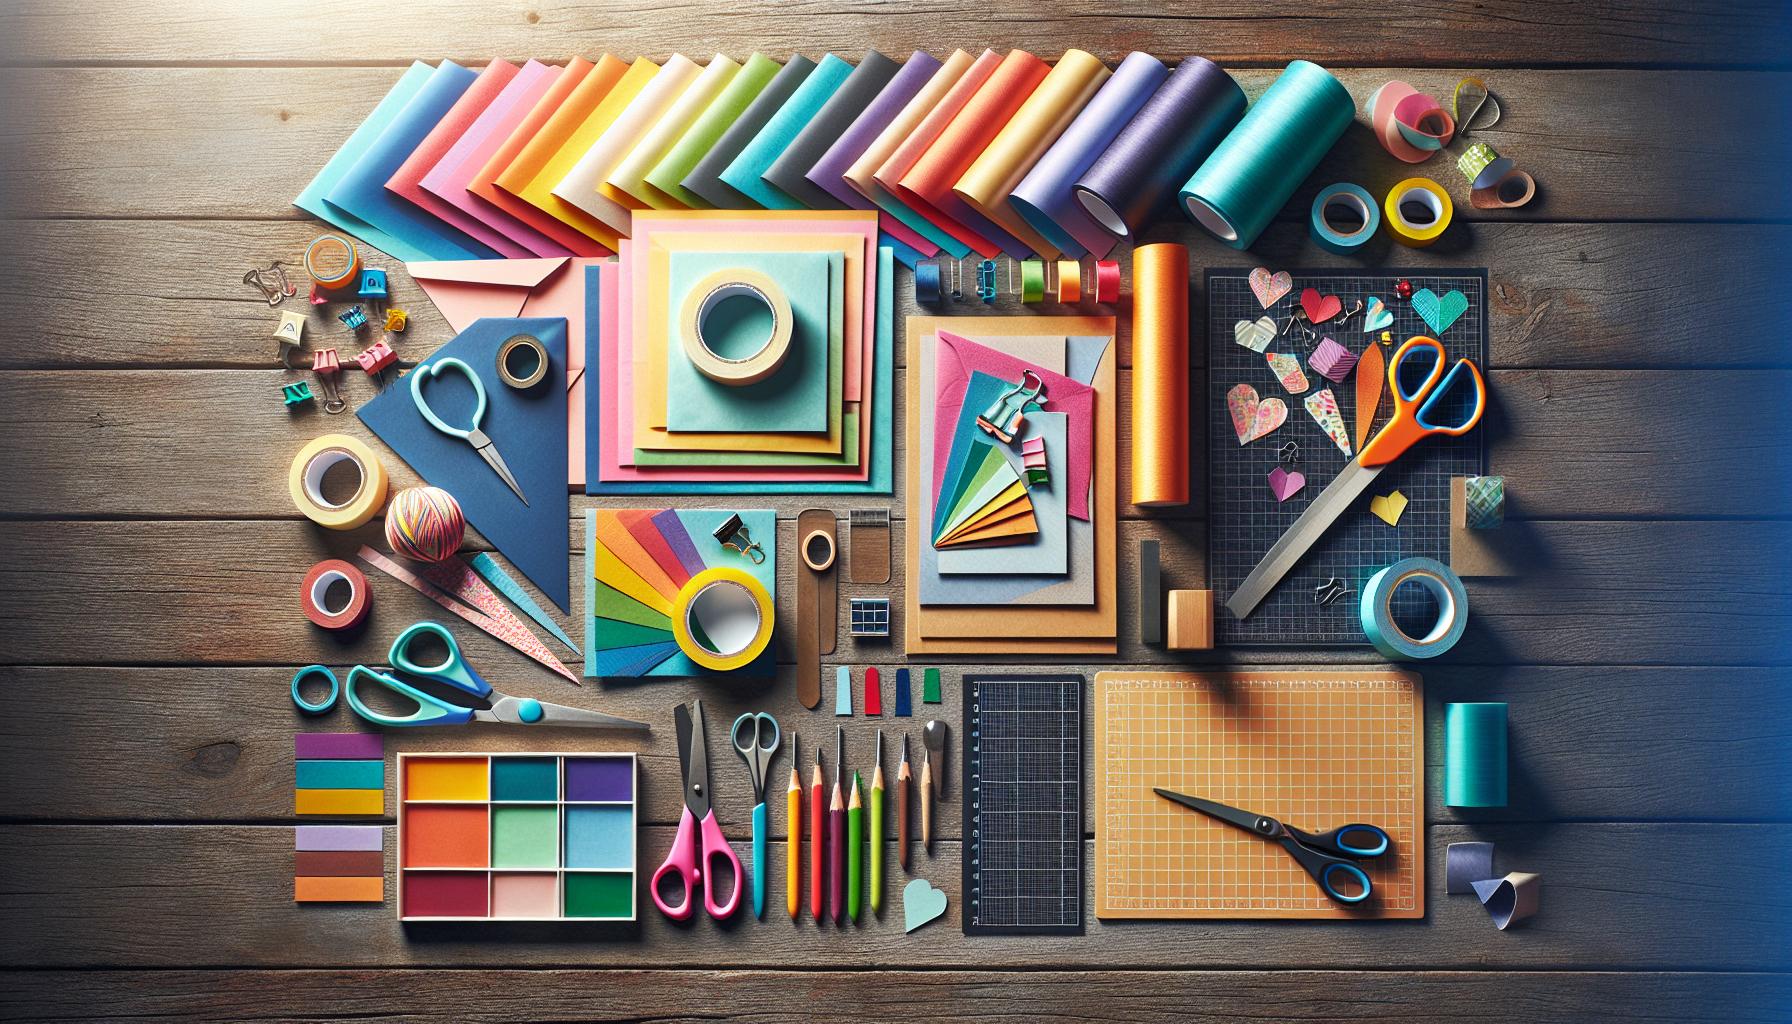
Creating custom envelopes adds a unique flair to any correspondence. Here's a clear list of materials you'll require to achieve this creativity:
- Paper or Cardstock: Choose materials like scrapbooking paper, cardstock, or even packing paper. Thinner paper folds easily, while cardstock offers more durability. Explore various envelope options.
- Adhesive: Use strong adhesives like double-sided tape, glue sticks, or permanent adhesive tape to ensure envelopes stay together.
- Paper Trimmer or Scissors: These tools help cut the paper precisely to the desired envelope size. For more about enhancing envelope designs, explore our printed envelopes
 .
. - Scoring Board: A scoring board aids in creating crisp folds, especially for standard-sized envelopes.
- Bone Folder or Similar Tool: This tool is essential for pressing down and creating sharp, professional folds in the paper.
- Ruler or Straight Edge: These tools guide your cuts and folds for precise crafting.
By using these materials effectively, we can not only ensure our envelopes serve their functional purpose but also enhance the aesthetic appeal in a distinct and creative manner. For more tools and user-friendly design ideas, visit our best online designer![]() to elevate your crafting experience.
to elevate your crafting experience.
Step-by-Step Guide: Making an Envelope with A4 Paper
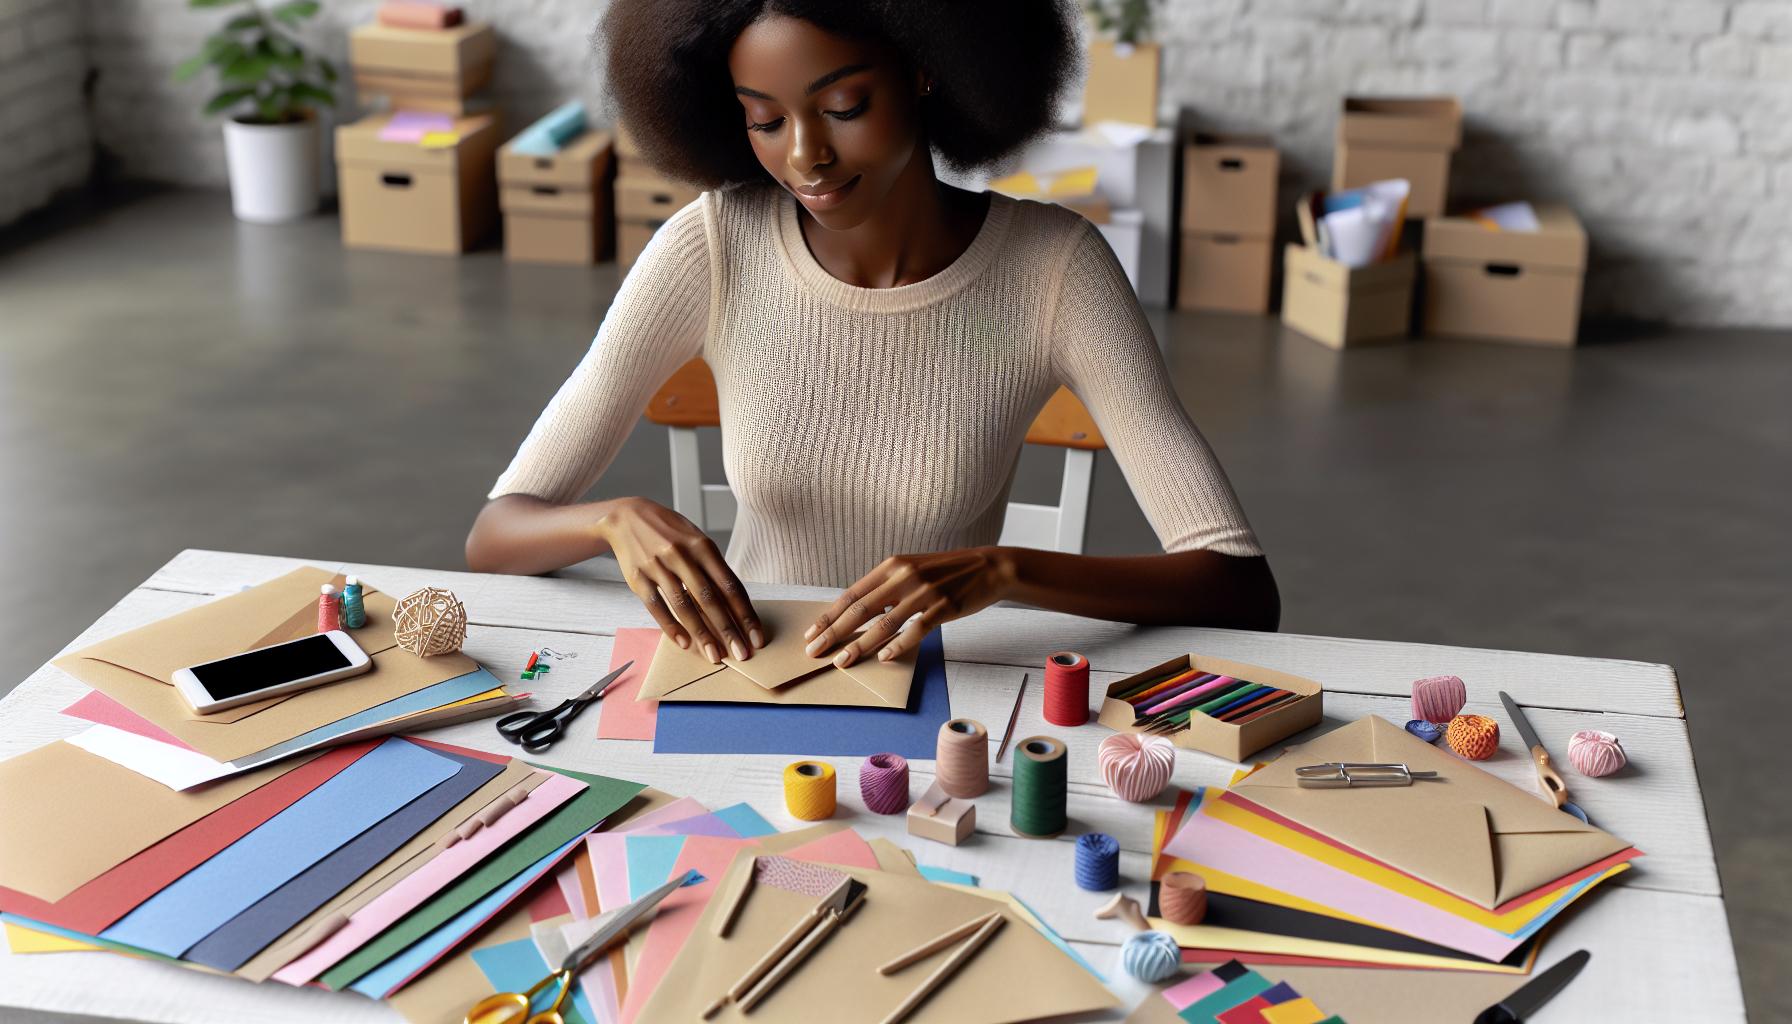
Creating envelopes using A4 paper is a simple yet creative method to add a personal touch to your correspondence. Here's how we do it:
- Position the Paper
We start with an A4 sheet in portrait orientation. If patterned, the design faces away. Placing our card or letter at the bottom center ensures an accurate starting point. - Fold in the Sides
By folding each side of the paper towards the center, we create the envelope flaps, ensuring they overlap the card. Using a bone folder sharpens these folds, optimizing for a professional look. - Fold Up the Paper
Next, we fold the paper upwards, encasing the card securely inside the flaps. This step is crucial for forming the envelope's main pocket. - Seal the Envelope
A glue stick secures the flaps in place, and we allow it to dry fully before adding additional details like printed designs. - Personalize with Design Templates
For those looking to elevate their envelopes, exploring design templates provides endless customization options to match any event or aesthetic preference.
By using these steps, anyone can craft a bespoke envelope, transforming standard A4 paper into a unique expression of creativity. Plus, 4OVER4 offers innovative printing solutions that can further personalize projects, ideal for anyone aiming to elevate their brand's presence.
Conclusion: Personalize Your Letters with DIY Envelopes
Creating your own envelopes not only adds a unique touch to your correspondence but also offers a sustainable way to repurpose materials. Whether you're a beginner or a seasoned DIY enthusiast, our guide provides you with the tools and techniques to craft envelopes that reflect your personal style. By experimenting with different materials and methods, you can transform a simple piece of paper into a beautiful, functional envelope that stands out. Let your creativity shine and make each letter you send a memorable experience.
Frequently Asked Questions
What are the benefits of making handmade envelopes?
Handmaking envelopes allows for a personal touch in correspondence, offering a unique and heartfelt expression that can't be duplicated by mass-produced options. It also promotes sustainability by reusing materials that might otherwise be thrown away, reducing your carbon footprint. Crafting envelopes is a creative outlet that can enhance the aesthetics of any correspondence, making each note or card distinct and memorable.
What materials are needed to create custom envelopes?
To craft custom envelopes, you'll need basic materials such as paper or cardstock, adhesive (like glue or tape), scissors or paper trimmers, a scoring board, a bone folder or similar tool, and a ruler or straight edge. These tools help create precise folds and designs, allowing you to customize the envelope’s appearance and functionality.
Can I make an envelope without using glue, tape, or scissors?
Yes, you can use the origami envelope technique, which involves folding paper to create an envelope without the need for glue, tape, or scissors. This method is ideal for those with limited tools, as it relies solely on precise folding to form a functional and secure envelope.
How can I personalize my handmade envelopes?
Personalize your handmade envelopes by using design templates, unique materials, and decorative elements such as washi tape, stamps, or embellishments. You can experiment with various colors, patterns, and textures to match the envelope to specific occasions or personal preferences, ensuring your envelopes stand out.
What is the simplest method for making an envelope?
One of the simplest methods is using an existing envelope as a template. Trace the outline of the envelope onto your chosen paper, cut, and fold it along the traced lines. This approach ensures accurate dimensions and allows for easy replication of envelope shapes you like.
How does making envelopes contribute to sustainability?
Creating handmade envelopes promotes sustainability by upcycling materials such as old magazines, newspapers, or used wrapping paper. By repurposing these items, you reduce waste and lessen the demand for new resources. This conscious crafting choice supports an eco-friendly lifestyle while offering a creative outlet.
More from Arts & Crafts

15969
Traditional business card designs do not fully demonstrate the creativity
![]() Matthew Prince
Matthew Prince
May 12, 2023

4644560
Postcard marketing is one of the best ways to build a successful business for lifetime productivity. The custom postcards are most significant
![]() Emma Davis
Emma Davis
May 12, 2020

1684451
Rubber stamps may seem like small tools, but they play a big role in keeping our daily tasks organized and efficient. Whether we’re mana
![]() Emma Davis
Emma Davis
Apr 27, 2021

2015078
Creating a unique pre-ink rubber stamp is a fantastic way to add a personal touch to everything from business branding to creative crafts. We&
![]() Emma Davis
Emma Davis
Apr 27, 2021

1694273
We all know the joy of getting lost in a good book, but keeping track of where we left off can sometimes feel like a chore. That’s where
![]() Emma Davis
Emma Davis
Apr 9, 2021

41417568
Tucked between the pages of a gripping novel or an insightful self-help book you're reading, bookmarks h
![]() Emma Davis
Emma Davis
Apr 9, 2021

18710871
We all love getting lost in a good book, but keeping track of where we left off can sometimes be a hassle. That’s where DIY bookmarks co
![]() Emma Davis
Emma Davis
Apr 9, 2021

2525243
We all know the joy of diving into a great book, but keeping track of where we left off? That’s where bookmarks come in. While store-bou
![]() Emma Davis
Emma Davis
Apr 9, 2021