TABLE OF CONTENTS
- Understanding the Water and Fire Effect in Photoshop
- Tools and Techniques for Creating Water and Fire Effects
- Step-by-Step Guide to Designing Water and Fire Effects
- Tips for Enhancing the Realism of Your Effects
- Common Mistakes to Avoid
- Conclusion
- Home
- content hub
- Water and Fire Effect: PSD Tutorials and Brushes for Photo Manipulation
Water and Fire Effect: PSD Tutorials and Brushes for Photo Manipulation
Emma Davis
Content Writer
Mar 6, 20144010 views
Mar 6, 20144010 views

TABLE OF CONTENTS
- Understanding the Water and Fire Effect in Photoshop
- Tools and Techniques for Creating Water and Fire Effects
- Step-by-Step Guide to Designing Water and Fire Effects
- Tips for Enhancing the Realism of Your Effects
- Common Mistakes to Avoid
- Conclusion
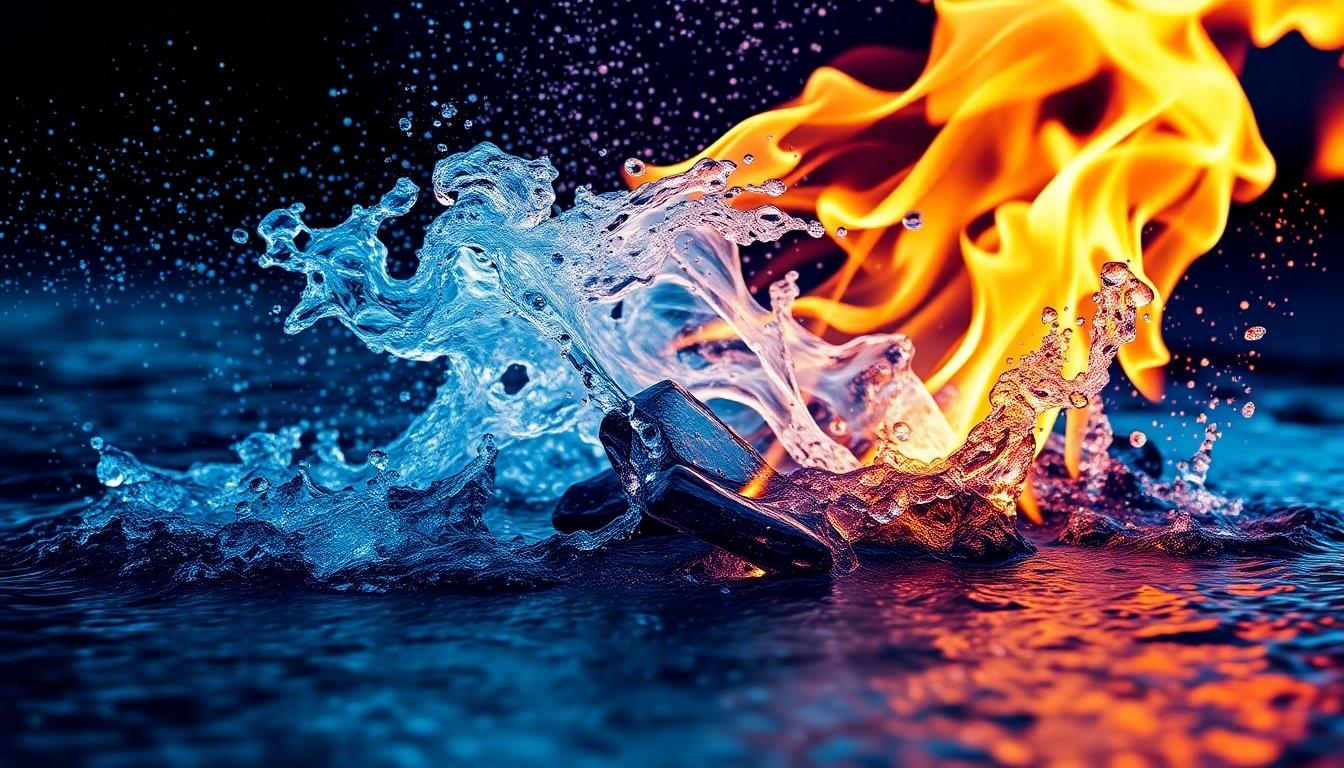
Creating captivating visuals is at the heart of digital design, and Photoshop gives us the tools to bring even the boldest ideas to life. Among the most striking effects we can craft are water and fire elements—dynamic opposites that, when combined, create stunning, eye-catching designs. Whether it’s for a dramatic poster, social media content, or a creative project, mastering these effects can elevate our work to a whole new level.
Understanding the Water and Fire Effect in Photoshop
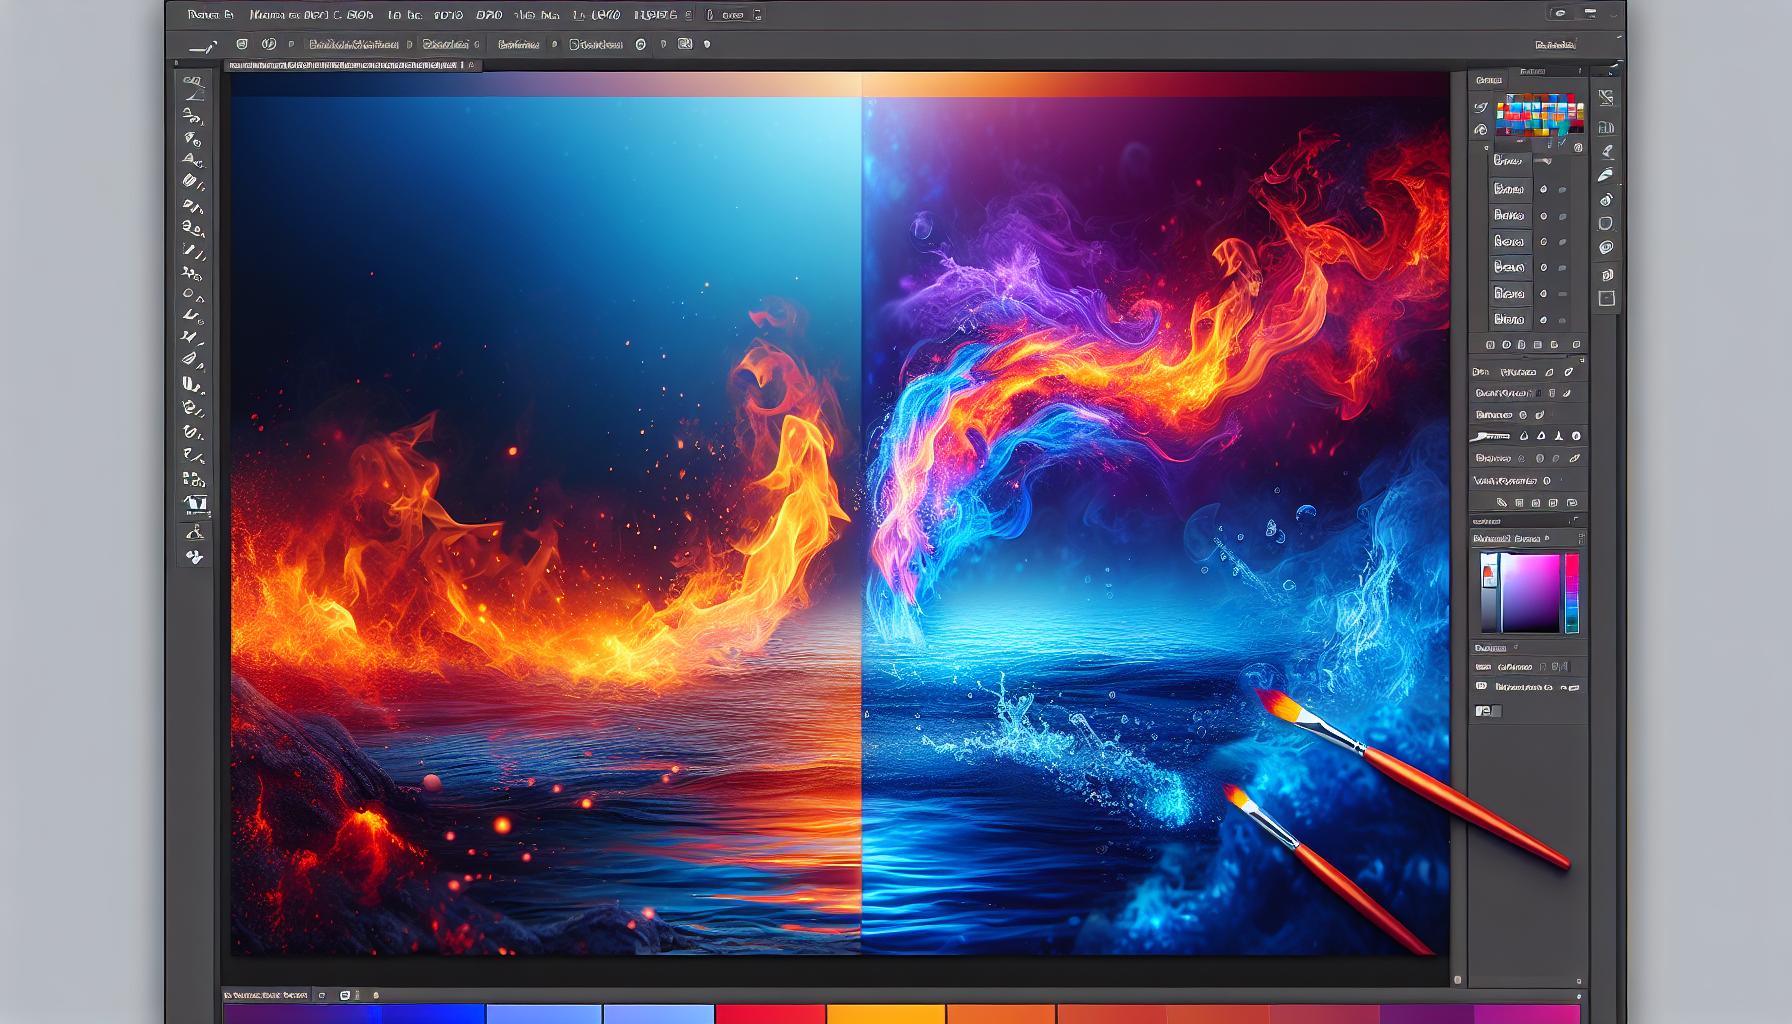
The water and fire effect combines contrasting elements to create visually stunning imagery. In Photoshop, this effect involves layering techniques, blending modes, and custom brushes to simulate water’s fluidity and fire’s intensity. Designers can use this effect to add depth and intrigue to creative projects, including promotional materials and branding visuals.
Key Techniques for Achieving the Effect
- Blending Modes
Utilizing blending modes such as Overlay or Screen adjusts the interaction between water and fire. These modes enhance the realism of the elements without overpowering the composition. - Brush Tools
Custom brushes designed for flames or water splashes contribute to authenticity. Download high-quality brushes or create personalized ones for more control using available design templates.
- Layer Adjustments
Altering layer opacity and adding masks refines the integration of water and fire. Gradients or filters like Gaussian Blur soften transitions, making the effects visually cohesive. - Textures and Gradients
Applying water or flame textures enriches the visual appeal. Gradients also help replicate realistic lighting and depth.
Applications in Custom Printing Solutions
This effect is particularly effective when applied to custom printed media, such as flyers or posters. At 4OVER4.COM, we empower businesses to transform designs by utilizing attention-grabbing visuals that align with their branding. Experimenting with effects like water and fire allows designs to stand out in competitive markets.
To visualize how these effects translate from digital to print, request free samples and evaluate different design outcomes.
Elevating Brand Presence
Incorporating water and fire effects can make branded materials more engaging. For instance, motion-like fire streaks on banners or flowing water patterns on promotional cards create immersive experiences. By using free and user-friendly online design tools, businesses can easily craft these dynamic visuals that resonate with their audiences.
Illustrating these elements thoughtfully ensures a memorable representation of your brand, strengthening its identity in both digital and print formats.

Tools and Techniques for Creating Water and Fire Effects
Photoshop offers endless possibilities for crafting dynamic water and fire effects, blending art with technology. With the right tools and techniques, we can create visuals that captivate audiences and inspire creativity.
Essential Photoshop Tools
Photoshop's suite of tools is essential for building impactful water and fire designs. The Pen Tool enables precision when tracing shapes such as flames or water drips. The Gradient Tool works well for color transitions, simulating the glow of fire or the translucence of water. Using Blending Modes like Overlay or Screen refines textures, while the Smudge Tool helps simulate flow and energy for both effects.
For projects requiring custom designs, explore design templates to inspire unique creations. These tools bring ideation and execution into perfect harmony.
Layering Techniques
Layering ensures every element integrates naturally into the composition. We recommend stacking multiple layers to isolate components, like water splashes or fire streaks, for better manipulation. Adjust opacity in water effects for a translucent appearance. Duplicate layers when creating reflections or enhancing brightness in fire effects.
Layer masks simplify blending edges and creating seamless transitions between elements. Designing promotional materials with multifaceted effects becomes easier with customized layers.
Using Brushes for Realistic Effects
Custom brushes mimic natural water flows and fire sparks accurately. Use a spatter brush for water splashes or dots for realistic fire embers. Textured brushes add depth, creating unique visual styles. Experiment with pressure sensitivity settings if using a tablet for finer control.
Free samples of best online designer tools complement these efforts, especially for refining brushwork efficiently. This enhances overall realism in designs.
Partnering with 4OVER4.COM allows businesses to elevate their brand presence through impactful custom printing solutions. Utilize achieved visuals for branding products or promotional materials that consistently engage target audiences. Access free samples to align designs with desired outcomes effectively.
Step-by-Step Guide to Designing Water and Fire Effects
Water and fire effects can transform an ordinary design into something extraordinary. This guide outlines structured steps to create and blend these effects to deliver professional visuals that can greatly enhance branding and promotional materials.
Creating the Water Effect
Designing a realistic water effect in Photoshop involves mastering fluidity and subtle detailing.
- Start with Base Layering: Use gradients and a soft blue palette to build the water's foundation. Incorporate the Gradient Tool for seamless transitions.
- Use Custom Brushes: Apply water-specific brushes to mimic droplets, waves, and ripples. Download free or premium brush sets designed for water effects.
- Adjust Blending Modes: Select modes like Overlay or Soft Light to create depth. This step ensures that the water integrates naturally into the underlying image.
- Enhance Using Filters: Add the Ripple or Glass filter for a layered texture resembling real water. Fine-tune the effect through intensity adjustments.
Applying these techniques efficiently can produce high-quality visuals that businesses trust for branding purposes. Our collaboration with 4OVER4.COM ensures that designs created with these elements become stunning promotional materials, making an enduring impression on audiences.
Designing the Fire Effect
Creating fire effects requires vibrant and dynamic design configurations.
- Establish a Dark Background: Fire appears most vivid against a dark or black canvas. This contrast enhances the overall intensity.
- Shape Fire with Liquify Tool: Use the Liquify tool to sculpt flame shapes. Begin with orange and red base tones for authenticity.
- Blend Transition Colors: Integrate yellow highlights and white core spreads to achieve a fiery gradient. Incorporate guidance from ready-to-use palettes or design templates
.
- Incorporate Glow Effects: Add an Outer Glow layer style to achieve a realistic fiery aura. Adjust size and opacity for optimal results.
- Utilize Smudge Tool: Simulate fire flicker and movement using the Smudge Tool, subtly pulling edges upward for a natural effect.
Use these precise techniques to refine fire visuals. When extended into branding through custom printing via 4OVER4.COM’s platform, these effects can amplify engagement across marketing channels.
Blending Water and Fire Together
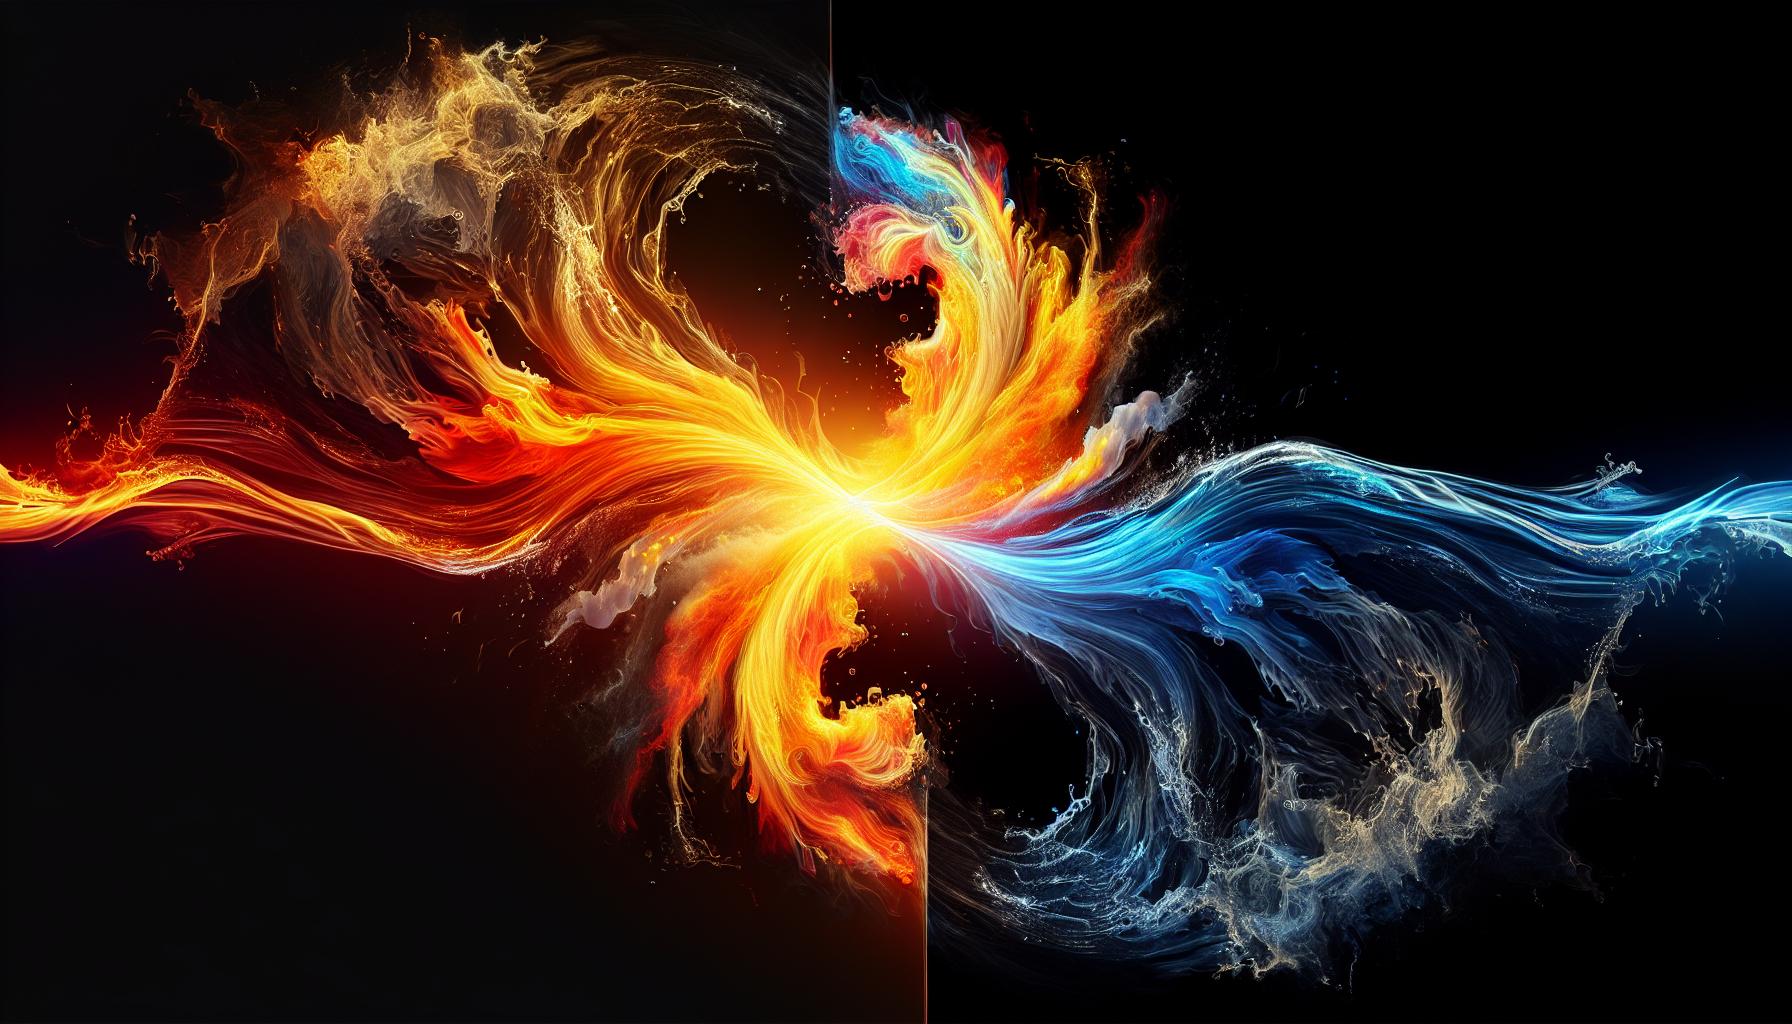
Blending these contrasting elements merges fluidity and intensity for captivating compositions.
- Align Opposing Elements: Position fire and water layers without overlap initially, defining clear central or edge alignment.
- Create Seamless Edges: Erase hard lines between effects using a soft brush and layer masks. Fine-tune opacity to balance integration.
- Unify with Gradient Overlays: Introduce subtle gradient overlays across the blend area to smooth the juxtaposition and unify the color scheme.
- Enhance Interaction Points: Use the Smudge Tool and Light Effects to create subtle steam or glowing transitions where water meets fire.
These blending methods optimize visual impact with stunning results when used in promotional materials. Designs featuring these dynamic effects gain additional value when translated into products offered by 4OVER4.COM. Incorporating free samples lets businesses explore the outcome prior to production, ensuring impactful final pieces.
Adding layered visual elements like water and fire fosters compelling branded designs that stand out in both digital and physical formats. Ensure images showcase refined water, fire, and combined effects to boost understanding and application.

Tips for Enhancing the Realism of Your Effects
Realistic water and fire effects in Photoshop can transform designs, making them more immersive and visually striking. By fine-tuning textures, lighting, and shadows, we can create effects that elevate creative projects and branding materials.
Adding Texture and Details
Textures add depth and make visual effects more convincing. For water, use Photoshop's layer styles and blending options to introduce ripples or waves. Adjust filters like Gaussian Blur for softer transitions and Add Noise to replicate water droplets. For fire, apply custom brushes to mimic flames, then use Noise filters for sparks or embers. Fine-tuning these elements ensures the design feels organic.
Layer masks are essential for adding seamless textures. By applying them to blend multiple patterns, we can achieve cohesion without visible boundaries. Designers exploring textures can utilize design templates to streamline the creative process. Reference tools like Photoshop's Gradient Map for blending textured elements with the base image.
Incorporating these techniques into designs enhances print simulations, offering flexibility for projects requiring custom printing from 4OVER4.COM. By applying our free samples, businesses can evaluate results before finalizing designs for impactful promotional materials.
Perfecting Lighting and Shadows
Lighting and shadows intensify realism by adding dimension. For water effects, layer Radial Gradients to simulate reflections and adjust the Brightness/Contrast settings. Overlay blue or white light streaks to mimic shimmer. For fires, use gradient overlays for dynamic transitions between warm tones like orange and red. Apply the Inner Glow layer style for a radiant appearance.
Drop shadows and layer adjustments bring depth. For water, subtle shadows create the illusion of droplets on surfaces. For fire, soft outer shadows can reinforce the glowing nature of flames. Balancing light sources ensures a harmonious visual environment.
Exploring resources, such as the best online designer tools, empowers us to refine these elements further. Customization, paired with precision tools in Photoshop, makes it easier to tailor designs for specific branding goals. With 4OVER4.COM, businesses can translate these optimized effects into stunning physical outputs, amplifying their brand identity across marketing platforms.
Common Mistakes to Avoid
Avoiding common mistakes ensures water and fire effects look realistic and impactful. Recognizing these errors can save time and improve overall design quality.
- Overusing Blending Modes
Overusing blending modes like Overlay or Screen can make effects appear unnatural. Instead, test different modes and combinations to achieve a balanced integration. Experimentation with options ensures the effect complements the overall design. - Forgetting Textural Details
Omitting textures causes water to look flat or fire to lack intensity. Use layer styles and blending options to add depth to water. Incorporate custom brushes specifically designed for fire to simulate organic variations. Explore design templatesfor inspiration and consistency across elements.
- Ignoring Interactivity Between Elements
Disregarding how water and fire interact leads to inconsistent visuals. Use gradient overlays to create interaction points and focus on softening edges where the two elements meet. Gradual transitions enhance realism and prevent abrupt contrasts. - Neglecting Layer Masks
Skipping layer masks results in harsh lines and uneven integration. Use masks to blend textures smoothly and create seamless edges between elements. This technique improves the overall cohesion of the design. Free resources like those available in online design toolssimplify this process further.
- Overlooking Lighting and Shadows
Insufficient attention to lighting and shadows makes designs appear flat. Integrate Radial Gradients for water reflections and gradient overlays for fire's glow. Apply drop shadows and refine layer adjustments to add depth and dimension. Fine-tuning these aspects captivates the viewer's attention.
To bring these designs to life, businesses can rely on 4OVER4.COM for premium custom printing solutions. By leveraging their services, it's possible to turn these striking water and fire effects into high-quality branded materials. Access free samples to visualize outcomes before finalizing production.
Conclusion
Mastering water and fire effects in Photoshop opens up endless creative possibilities for crafting visually stunning designs. These dynamic elements, when applied with precision and creativity, can transform ordinary visuals into powerful branding tools that captivate audiences.
By refining textures, lighting, and shadows while avoiding common mistakes, we can elevate our designs to a professional level. Combining these effects with custom printing solutions ensures our visuals leave a lasting impression across both digital and physical platforms.
Let’s embrace these techniques to create impactful designs that truly resonate with our audience and strengthen our brand identity.
More from Graphic Design
31675
In today’s fast-paced business world, a well-designed business card can be your secret weapon. It’s more than just a piece of paper; it’
Matthew Prince
Feb 3, 2023
5254149
If you had to choose between a plain colored or bold colored custom envelopes, which one would you choose? Color influences a person to open a
Emma Davis
Jul 18, 2020
5324148
Are you aware that
Emma Davis
Jun 17, 2020
3504754
So, you've decided to take the leap and print flyers
Emma Davis
Jun 4, 2020
3904389
One of the most perfect ways to showcase your company brand is by use of custom hang tags. These serve as a brilliant opportunity to have cust
Emma Davis
May 28, 2020
4824364
Marketing allows a vast window for business creativity in today’s world. One of those creative marketing gimmicks is the use of perforated w
Emma Davis
May 21, 2020
3453609
Have you ever received a postcard? If you have, you must know how warmth-inducing and thought-provoking they are. Now how would you feel if yo
Emma Davis
May 14, 2020
6063701
If you have been in any business; big or small, you know that it takes a lot of small efforts to make a big milestone. You also understand how
Emma Davis
May 14, 2020


